#DreamCollabs uncovers the reasons behind these collaborations and why it’s essential to dream big, whether meeting their childhood music heroes, working with an emerging artist that excites them or collaborating with an artist whose sound has influenced the creative choices these industry powerhouses make.
In the latest episode, we speak to legendary mixing engineer Teezio about his dream collaborations, from sharing career-changing opportunities with the acclaimed production duo Daytrip to collaborating on the art that surprises him.
Watch to discover who these #DreamCollabs are. Trust us, we can already tell these collaborations would be out of this world.
WATCH FULL VIDEO
TRANSCRIPT
“My dreams of my ideal session would be to work with –
I’d want to work with the producers Daytrip who are very close friends of mine. They’re like the nicest guys ever.
And I’d want them to do a record with Adele. And I’d want to be there and I’d want to cut Adele’s vocals and then I want to mix the record. That would be like n right?
Now if you ask me what I want to do, because I really fuck with it. Do you guys know who Central Cee is? ‘How could I be homophobic? My bitch is gay.’
Shit liked that. I was like, fuck who says shit like that?
That’s the type of shit that I like stuff that catches me by surprise. I need to work with him. I want to come to my house and smoke weed with me. And I want to make a record for him.
Just give me the song and let me do it. Like I want to be a part of it.“
Audiomovers are uncovering the biggest pinch-me-moments that the world’s most esteemed producers, engineers and mixers have experienced, from working with childhood heroes to winning Grammy Awards and No.1 Records, discover it all with #PinchYourself.
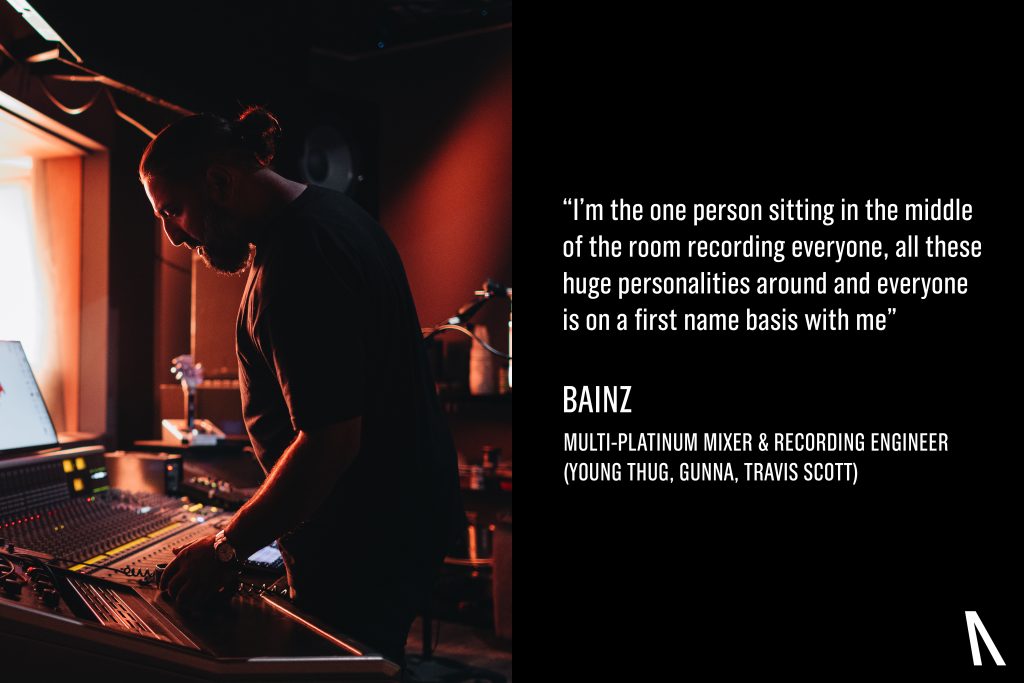
In the latest episode, we are joined by the multi-platinum Grammy nominated mixing and recording engineer Bainz, as he recounts his trip to Jamaica to record Gunna’s album ‘Slime Language 2’.
Slime Language is the debut collaborative compilation album by American record label YSL Records and American rapper Young Thug, who is the leader of the label.
Watch the full video to discover why these sessions and the collaborators involved made Bainz pinch himself.
WATCH FULL VIDEO
TRANSCRIPT
“There are so many of them man. There’s so many of them.
Working on ‘Slime Language’, working on Gunna’s album in Jamaica.
Sitting in between, we were recording a verse with Thug, Gunna, Future, Travis Scott, Offset – they’re all jumping on the same song and I’m the one person sitting in the middle of the room recording everyone.
All these huge personalities around and everyone’s on a first name basis with me, really cool with me, it’s just I don’t know man it does get surreal and I know a lot of people look at it like wow, that’s that’s cool.
There’s a lot of those and I hope that there will be a lot more.”
We visited number-one-selling songwriter and record producer Alina Smith (ITZY, Red Velvet, Fall Out Boy) in her home studio, to delve deeper into the process behind the production and mix of Bathing Suit, by her LYRE MUSIC GROUP counterpart, Elli Moore.
Taking us into the original Ableton session, Alina demonstrates the magnitude of creative possibilities that come from using your voice to create synth and pad sounds, unveiling the plugins she uses to bring these elements to life.
WATCH FULL VIDEO
TRANSCRIPT
Hi, I’m Alina Smith, a writer and producer in LYRE Music Group and today I’m going to be showing you the production on Bathing Suit by Elli Moore.
Okay, the first thing I want to point out here – this is a technique I use on every single song I produce. I have a pretty airy voice, and I use it as a pad quite a bit, so you can hear this here.
I really advocate for people using their voices and their natural qualities to enhance their productions and h ere I basically stack several parts, to add a little bit of ‘oomph’ to this post-chorus.
So I accomplish this very simply. Obviously starts with the voice. You have to sing, you know in a soft, airy way. I also use Valhalla Shimmer plugin by Valhalla DSP. It’s one of my favourites, it really does add a shimmer on top of the track. It’s very oddly named.
And I use Center by Waves, which is one of my favourite plugins for vocals. It helps me get background vocals out of the way of the leads by spreading them to the side. This is what it sounds like without processing. As you can tell, quite dull, and this is it with it on. Big difference.
Okay, another technique that I use, pretty much in every song, some people call this chants, I call this gangs. It can be like a ‘yeah’ ‘uh’ like a kind of a yell thing. Or it’s like chanty type of singing, like we have this hook here.
So obviously, we’re trying to emphasise that ‘la la la’ hook and this is a really good way to do it. So the way I’ve accomplished this is the two of us are basically singing these gangs together in the room.
There’s no auto-tune, the mic is pretty far away, like about this distance from us. And we’re just singing very kind of loosely, wildly, it doesn’t have to be too on pitch and too perfect because it’s tucked in under the lead vocal in the mix. This is what it sounds like without any processing.
One of the things though, that makes these gangs for me is the processing. So I have this chain here that I just called ‘Dirty Gang’.
It starts with Decapitator which is a saturation plugin, and then I will take away the lowest part of the frequency range and the highest part of the frequency range.
Then I use my favourite plugin ever, which is Valhalla vintage verb I am known as the ‘Valhalla back girl’. And here I’m just adding a bit of this reverb, you know, a pretty high decay three seconds is pretty significant.
And then we have Center which again spreads it a bit more to the sides . This is what it sounds like with all the processing on.
To create the sound of multiple singers when you’re alone, you have to change the way you sing. You basically need to sing a melody and try to pretend you’re different people you can sing it in like a hooty kind of voice, you can sing very nasally, you can sing it in your normal type of range, type of voice and combining all of these different techniques will make it sound like a group.
There is another technique I want to show you guys that also has to do with using your voice as an instrument. It’s basically singing and re-pitching to make almost like a synth part out of a voice. So I’ll play you guys this pre-chorus part of the song.
So if you listen close, there is a part underneath here that is sort of this very high pitched, floating kind of vocal. This could have been accomplished with the synth, but I chose to just sing this in and process it in a way that makes it sound like this weird like processed synthy high thing.
So I’ll play it solo’d. So obviously if you are an amazing singer and can sing this in whistle tone, you can do that. Most of us are not, so I sing this, I’m pretty sure an octave lower than this. And then what I did is just add reverb on top of it. So it’s very easy to do and quite fun the melodies you can get this way.
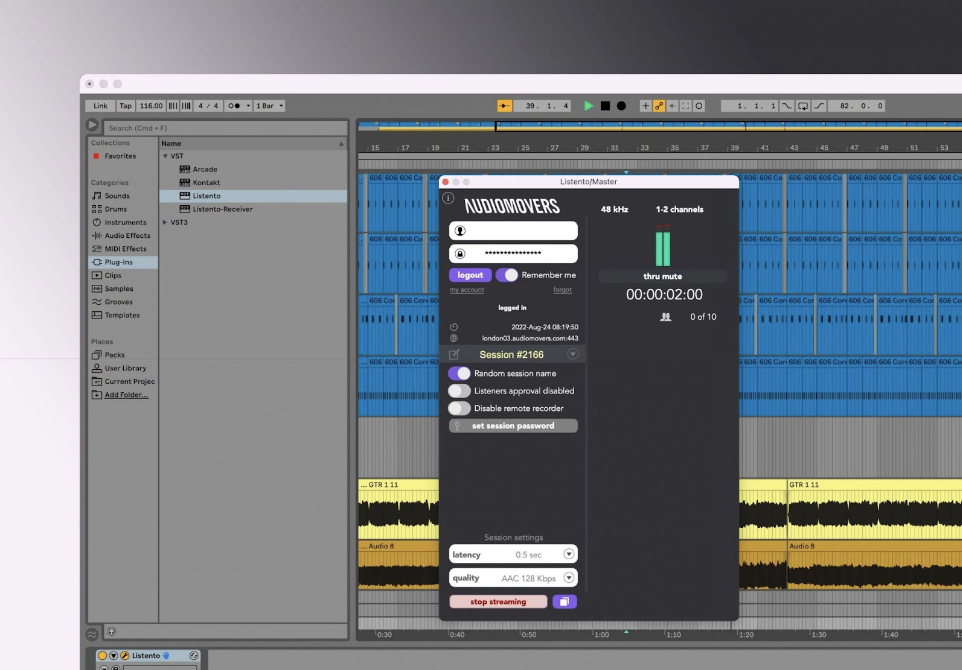
We have really great mix and mastering engineers we work with. A lot of the time, the engineers will do the bulk of the work on their own. But we will get together with them on Zoom using LISTENTO and we will give notes and they can just in real time, fix those final tweaks for us.
We’ve all been there. Whether it’s down to overthinking or simply a lack of inspiration, lulls in creativity are extremely common in music production. However, they don’t have to be permanent. From taking regular breaks to setting schedules, we’ve compiled our tips for regaining and maintaining your creative momentum.
#1: Search for inspiration in new places
It can be extremely common to go through periods of feeling uninspired, which of course can lead to a lack of motivation when trying to produce new tracks. If this does happen, it can be a good idea to search for inspiration in new place.
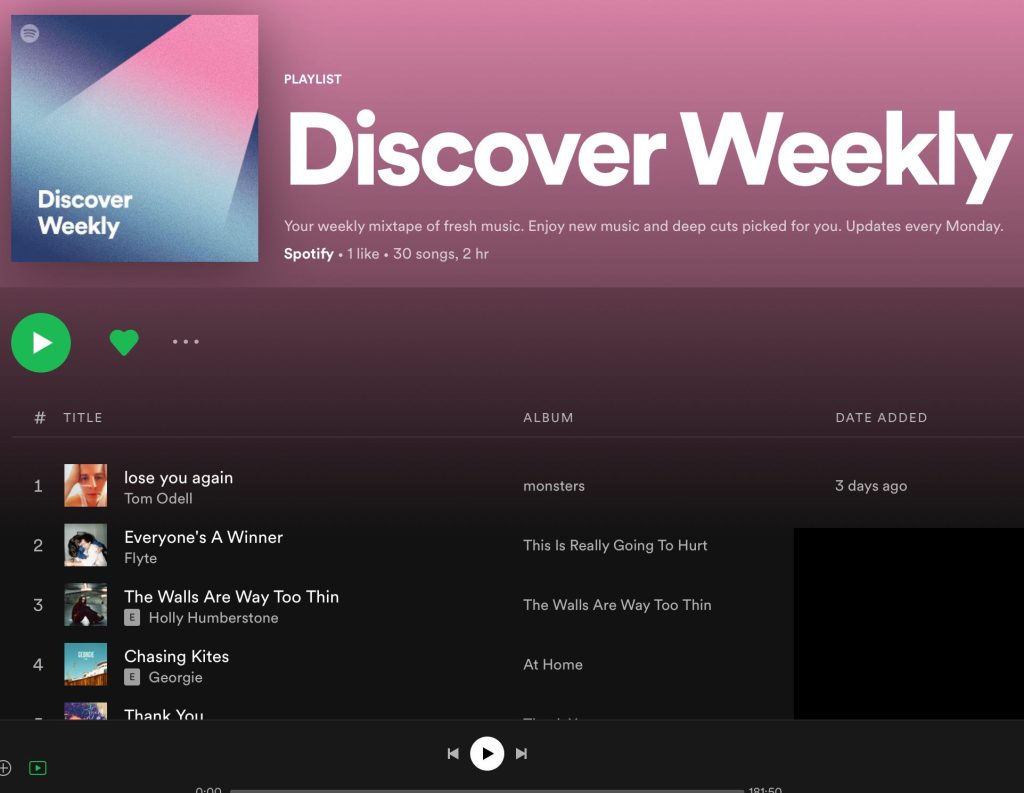
One example of this can be to expand the current music you are listening to. Most streaming services curate playlists filled with new artists and bands for you to discover.
Trying new experiences outside of the digital realm can also have a positive impact. From meditation and running, to visiting a museum or watching an epic film, any of these sources may trigger newfound inspiration for your music-making.
#2: Remember the reasons you started producing:
Whether that’s through listening to the tracks that first got you excited about music production or looking into your favourite producers and what they’re working on currently, taking the time to revisit your sources of inspiration may spark new ideas and get you excited about creating again.
#3: Compare your mixes now to your mixes from a year ago
The saying ‘comparison is the thief of joy’ is true when you’re comparing yourself to others. However, comparing your current mixes to your mixes from when you first started or even from a year ago is the best way to remind yourself of how far you’ve come.
A long break from an old track can also spark quick inspiration when you hear it again. Often the ideas for improvement just seem to pop out instantly on the first listen-through.
#4: Stop writing, start designing.
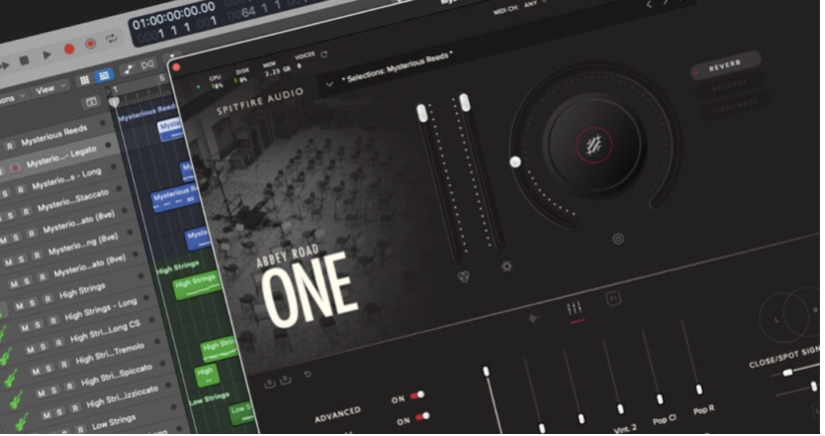
Remember when you first got your hands on Massive or Serum? How about your favorite glitch plugin? New toys and sounds in your library are a surefire way to spark musical inspiration and get going on a new project.
#5: Set a schedule and deadline
It’s very easy to make an excuse by saying that you’ve run out of time to complete a track you’ve been working on. Sadly, if you don’t have some sort of routine with your music-making, then you’ll find it extremely hard to keep into the swing of it and to continually keep getting better. Simply setting aside an hour or two a day could greatly help with this, even if this does mean waking up slightly earlier each day!
Once you are in the flow of this, start setting yourself a strict deadline. With strict, we mean it’s a final cut-off. No ifs or buts. You reach the deadline, you stop and it’s done. It’s amazing how much you can get done when you know you have no other option!
#6: Make sure to move around
We can all be guilty of spending hours upon hours in our studios without even coming out. Sometimes going out for a walk helps clear your mind and feed you new inspirational ideas and get a fresh perspective on your music.
In our brand new series All-Star Mix Tricks, platinum-selling producer Teezio explains how paramount breaks are for him when mixing tracks:
“I take a lot of breaks when I’m mixing. I mix for like 10 to 15 minutes at a time and then I take a break. Your hearing over time, especially sat in front of these big speakers will start to dampen and you’ll start to make decisions based on how fried your hearing is. I think that taking breaks and allowing your ears to sort of open back up will allow you to make better decisions.”
#7: Just Jam
The pressure of wanting to create a new track can sometimes stunt creativity. So, decide to just jam a bit for fun. No pressure! Take an hour or so and get into jamming it for the sole purpose of having fun, not to create a track. However, it may be worth pressing record, as often this is where the best ideas can come from!
#8: Collaborate
Find a good producer and collaborate with them, even if they make music in a different genre to you! You may want to try and find someone on a forum or social media if you don’t know any producers in your circle of friends.
Few things help get the creative juices flowing like another human being to work with. And don’t worry if they aren’t close by, with our LISTENTO plugin you can remotely collaborate wherever you are in the world. Start your two-day free trial here.
#9: Learn a New Skill
Music production involves a lot of different skills. It’s an ongoing process of learning and unlearning. New skills in your producer skill stack will open up new possibilities when you produce. New possibilities lead to heightened musical inspiration in many areas of your workflow. So, it’s a good idea to add a new skill as often as you can.
#10: Believe you can do it
Although this may be our final point, it’s got to be one of the most important. You need to wake up and believe that you are good enough and you will create something today. Take it step-by-step and visualise your plan of attack and what you will accomplish with your music.
Introducing: #DreamCollabs – a series where we chat with the world’s most esteemed producers, engineers and mixers about their dream musical collaborations.
#DreamCollabs uncovers the reasons behind these collaborations and why it’s essential to dream big, whether it be meeting their childhood music heroes, working with an emerging artist that excites them or collaborating with an artist whose sound has influenced the creative choices these industry powerhouses make.
In this first episode, we are joined by writer, producer, mixer and collaborator extraordinaire Matthew Genovese.
Matthew Genovese’s dream collaborator is The 1975 and how similar musical influences, and a passion for balancing the qualities of both analog and digital music production has informed his pick.
Trust us we can already tell that this collaboration would be extraordinary.
WATCH FULL VIDEO
TRANSCRIPT
A dream collaboration – I would love to work with the 1975.
I feel like we have a lot of similar influences. They even have the same console that I have, which is kind of rare. It’s one of the actually the big reasons I can’t send sessions back and forth to people is because they don’t have that and so that would work out.
And I just feel like they would have a lot of fun in my studio with synths and instruments.
Everybody has to be here because I have all the gear that I want here and I know how my room sounds and everything set up exactly how I want to work.
We would like to congratulate all of the nominees and winners from this year’s Brit Awards.
We are very humbled to see so many Audiomovers’ users being nominated this year, utilizing both LISTENTO and OMNIBUS to improve their workflow, create freely and collaborate on HQ lossless multi-channel audio in real-time.
Fred again – Actual Life 3 (January 1 – September 9 2022)
ARTIST OF THE YEAR
Harry Styles [Winner]
Central Cee
Fred Again
George Ezra
Stormzy
BEST DANCE ACT
Becky Hill [Winner]
Bonobo
Calvin Harris
Eliza Rose
Fred Again
GROUP OF THE YEAR
Wet Leg [Winner]
The 1975
Arctic Monkeys
Bad Boy Chiller Crew
Nova Twins
BEST HIP HOP / GRIME / RAP
Aithc [Winner]
Central Cee
Dave
Loyle Carner
Stormzy
INTERNATIONAL ARTIST OF THE YEAR
Beyonce [Winner]
Burna Boy
Kendrick Lamar
Lizzo
Taylor Swift
INTERNATIONAL GROUP OF THE YEAR
Fontaines D.C [Winner]
Blackpink
Drake & 21 Savage
First Aid Kit
Gabriels
INTERNATIONAL SONG OF THE YEAR
Beyonce – Break My Soul [Winner]
David Guetta & Bebe Rexha – I’m Good (Blue)
Fireboy DML & Ed Sheeran – Peru
From the Encanto soundtrack – We Don’t Talk About Bruno
Gayle – abcdefu
Jack Harlow – First Class
Lizzo – About Damn Time
Lost Frequencies & Calum Scott – Where Are You Now
OneRepublic – I Ain’t Worried
Taylor Swift – Anti-Hero
BEST NEW ARTIST
Wet Leg [Winner]
Kojey Radical
Mimi Webb
Rina Sawayama
Sam Ryder
BEST POP / R&B ACT
Harry Styles [Winner]
Cat Burns
Charli XCX
Dua Lipa
Sam Smith
BEST ROCK / ALTERNATIVE ACT
The 1975 [Winners]
Arctic Monkeys
Nova Twins
Tom Grennan
Wet Leg
SONG OF THE YEAR
Harry Styles – As It Was [Winner]
Aitch & Ahsanti – Baby
Cat Burns – Go
Dave – Starlight
Ed Sheeran & Elton John – Merry Christmas
Eliza Rose & Interplanetary Criminal – B.O.T.A. (Baddest Of Them All)
George Ezra – Green Green Grass
Lewis Capaldi – Forget Me
LF System – Afraid To Feel
Sam Smith & Kim Petras – Unholy
PRODUCER OF THE YEAR
David Guetta
As the 2023 Grammy season winds to a close we would like to congratulate all of the nominees and winners from this year’s 65th annual awards show. Let’s dive into some of this year’s biggest releases & Grammy nominations.
First up is the 2023 Grammy nominee, mixer/engineer & LISTENTO maverick Teezio. Nominated for his work on Chris Brown’s tenth studio album ‘Breezy’, which was up for Best R&B Album at this year’s awards.
As part of our #TheMakingOf series, Teezio gave us an access-all-areas look into the process for mixing the opening track to the album’ ’Till The Wheels Fall Off’, featuring Lil Durk and Capella Grey.
Teezio takes us through his vocal chain for Chris, the importance of reductive EQing, as well as how he co-mixed the track with his collaborator Bainz by using Audiomovers.
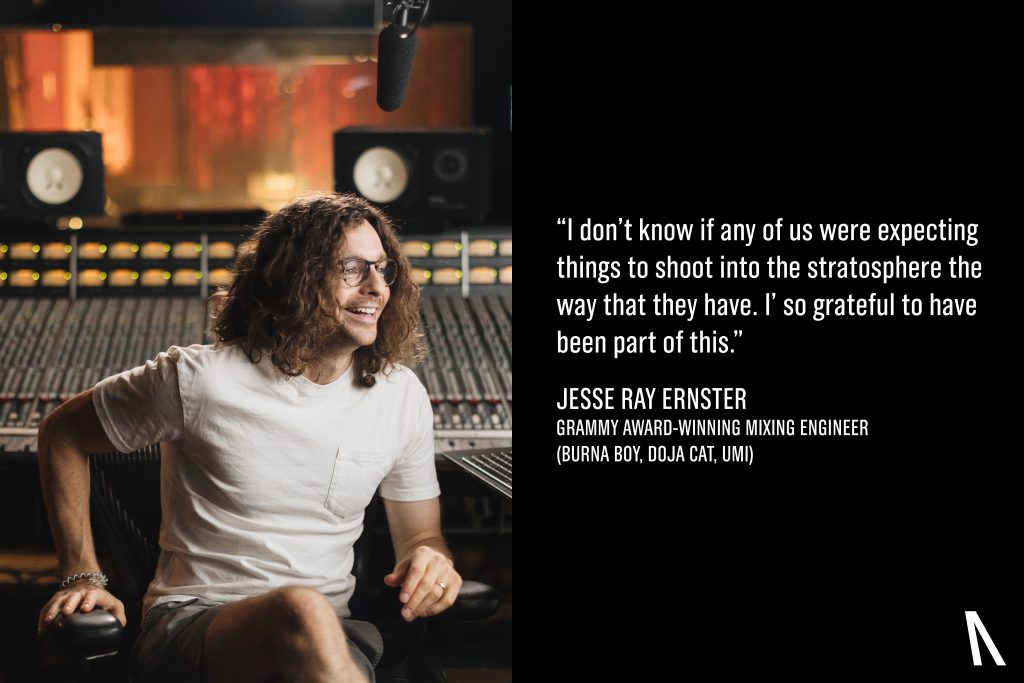
Next we have multi-time Grammy Award winning mixing engineer Jesse Ray Ernster, who was nominated for five Grammy Awards at this year’s 65th Annual Awards Show.
Jesse was in contention for ‘Record of The Year’ for his work on Doja Cat’s ‘Woman’, ‘Best Global Music Album’ for ‘Love, Damini’ by Burna Boy, alongside three participation nominations for his work with both Doja Cat & Burna Boy.
As part of our #TheMakingOf series, Jesse gave us an access-all-areas look at the mixing process for Doja’s chart-topping album ‘Planet Her’, describing it as “a game of small subtle tweaks”, embellishing and lifting the impact of the record with small, precise decisions.
The final #TheMakingOf video in our Grammy series features acclaimed mixer/engineer Bainz, who was nominated for two Grammy Awards this year.
Bainz was in contention for ‘Best Rap Performance’ for Gunna & Future ft. Young Thug’s ‘Pushin P’ and ‘Best Rock Album’ for his work on Machine Gun Kelly’s ‘Mainstream Sellout’.
Bainz sat down to chat with us about his creative process by breaking down the mix of T-Shyne – ‘Fighting Demons’ (feat. Young Thug).
Bainz broke down some of the workflows and techniques he brings to most of his sessions, as well as what’s unique to this track and how he approaches maximizing what is already great about the track, and how he incorporates so much analog gear into his mixes.
Audiomovers are uncovering the biggest pinch-me-moments that the world’s most esteemed producers, engineers and mixers have experienced, from working with childhood heroes to winning Grammy Awards and No.1 Records, discover it all with #PinchYourself.
As part of our #GrammyAwards celebrations, it felt fitting to launch the series with !llmind, who describes that goosebumps moment when he won his first Grammy at the 61st Awards for his work on Jay Z and Beyonce’s The Carters album ‘EVERYTHING IS LOVE’ and everything changed.
WATCH FULL VIDEO
Audiomovers’ presence was felt in an enormous way at this year’s Grammy Awards. Over two-dozen artists and their respective teams using LISTENTO to remotely collaborate with HQ lossless audio.
To celebrate we have made the perfect Grammy party playlist for you to enjoy, stocked full of the biggest and brightest hits from 2022.
Audiomovers are uncovering the biggest pinch-me-moments that the world’s most esteemed producers, engineers and mixers have experienced, from working with childhood heroes to winning Grammy Awards and No.1 Records, discover it all with #PinchYourself.
As part of our #GrammyAwards celebrations, it felt fitting to launch the series with !llmind, who describes that goosebumps moment when he won his first Grammy at the 61st Awards for his work on Jay Z and Beyonce’s The Carters album ‘EVERYTHING IS LOVE’ and everything changed.
WATCH FULL VIDEO
TRANSCRIPT
I was at the Grammys, I think it was 2019. The nomination was for Jay-Z & Beyonce, the Carters album, the first song I did on there.
And the moment that they opened the envelope and said Jay-Z, Beyonce, Carter’s, I just like I flipped, like my heart just like flipped upside down. And I was like, Holy shit, like, after all these years, and after all these moments, you finally are a Grammy winner.
You know, it’s like one thing to like, be nominated, but like to actually have a winning Grammy. It’s a whole other category of where that puts you.
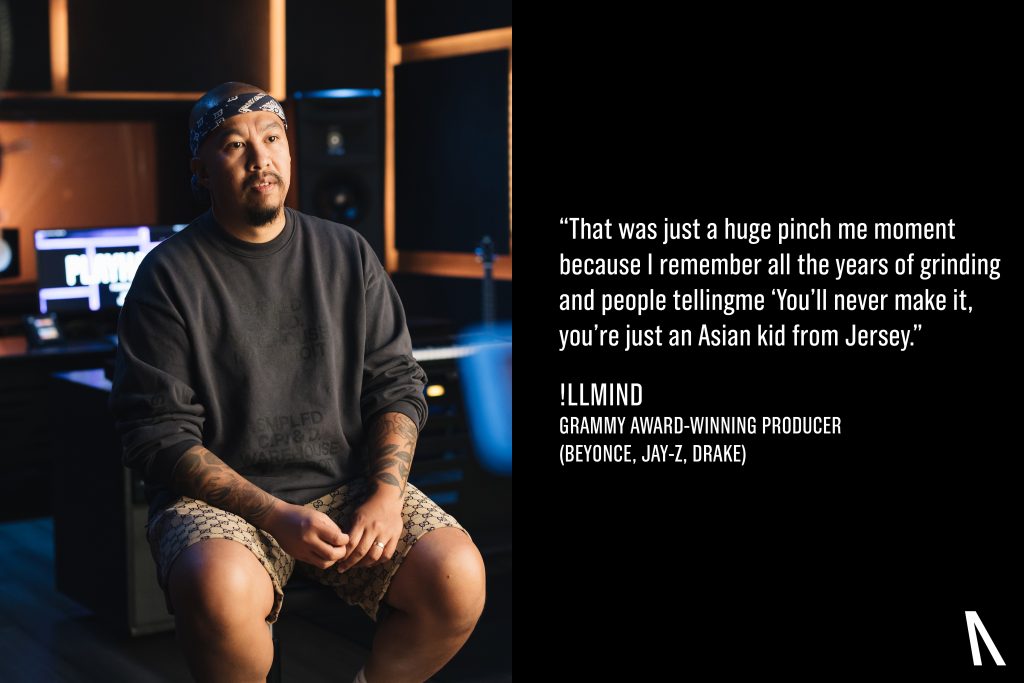
And so yeah, that was just a huge like, pinch me moment because I remember all the years of grinding and people telling me you’ll never make it and like you’re just an Asian kid from Jersey. You can’t do hip-hop beats. You can’t do house beats you can’t do this. And it was just another like feather in the cap.
Just keep focusing and doing what you’re doing because whatever you’re doing is like working and you won to Grammy so like just keep going.
In modern music production, a digital audio workstation (DAW) is software for recording, editing and producing audio and MIDI tracks.
It acts as the music producer’s central hub and houses the instruments, sounds, tools and plugins needed to record high-quality music. Think of it as the canvas music creators use to create and refine their art and skill set.
Replacing and surpassing the analogue and digital tape-based formats which preceded it, the modern DAW incorporates the functionality of recording consoles and outboard effects processors in one integrated application.
Let’s take a closer look below.
History of the DAW
Knowing the history of DAWs is not essential when learning how to use one. Still, it is crucial to understand where the journey began and to recognize the rapid advancements in technology and accessibility over the last fifty-odd years.
The earliest iterations of the modern-day DAW date back to the late 1970s when Soundstream developed the first digital recorder. The creation of a commercially viable DAW would not come for another few years, not until the home computer market would explode into prominence in the late 1980s and products like Apple, Atari, and Commodore Amiga gave access to inexpensive data storage & quicker processing and disk speeds.
Following suit, engineers used Macromedia’s Soundedit, with Microdeal’s Replay Professional and Digidesign’s Sound Tools and Sound Designer to edit audio samples for sampling keyboards like the E-mu Emulator II and the Akai S900. Soon, people began to use them for simple two-track audio editing and mastering.
In a perfect storm of technological advancements and high-tech innovation, the landscape and integration of personal computers would lead to digital audio recording and MIDI forever augmented, racing towards what we now understand to be the modern-day DAW.
In 1994, 4-track editors were brought to market, and major recording studios began to take note just as Pro Tools, Cubase, and the first Windows-based DAWs were introduced. By 1996, 32-track DAWs were readily available and became the industry standard.
Is it challenging to use a DAW?
DAWs are incredibly powerful, intuitive software with many functions, controls, channels and options. Naturally, having many options may lead to confusion when initially interacting with the DAW, but please don’t let this discourage you.
As a beginner, you don’t need to understand the full array of advanced functions to use the DAW. It is wise to invest time in getting to grips with the basic functionality and core fundamentals of the DAW, gradually building your knowledge and skill set over time.
What does a DAW do?
DAWs link your computer and musical equipment, allowing you to record, edit and arrange digitally.
There is a plethora of DAWs available, each with its distinct capabilities and features, but all, regardless of brand, offer the same core functions:
Record, edit and arrange audio & MIDI information in a timeline order.
Compose using virtual instruments
Utilize audio effects plugins
Mixing and Mastering
Sound Design and non-musical audio
Which DAW should I use?
As mentioned above, most, if not all, DAWs offer similar functions and controls. No matter which DAW you choose to use, you will be able to record and process audio and MIDI to a high standard, depending on your level of expertise and how you utilize the software.
Core considerations to be taken when investigating which DAW is right for you are:
The genre of music you plan to produce
Your budget
Your computer operating system and hardware
Audio plugin compatibility
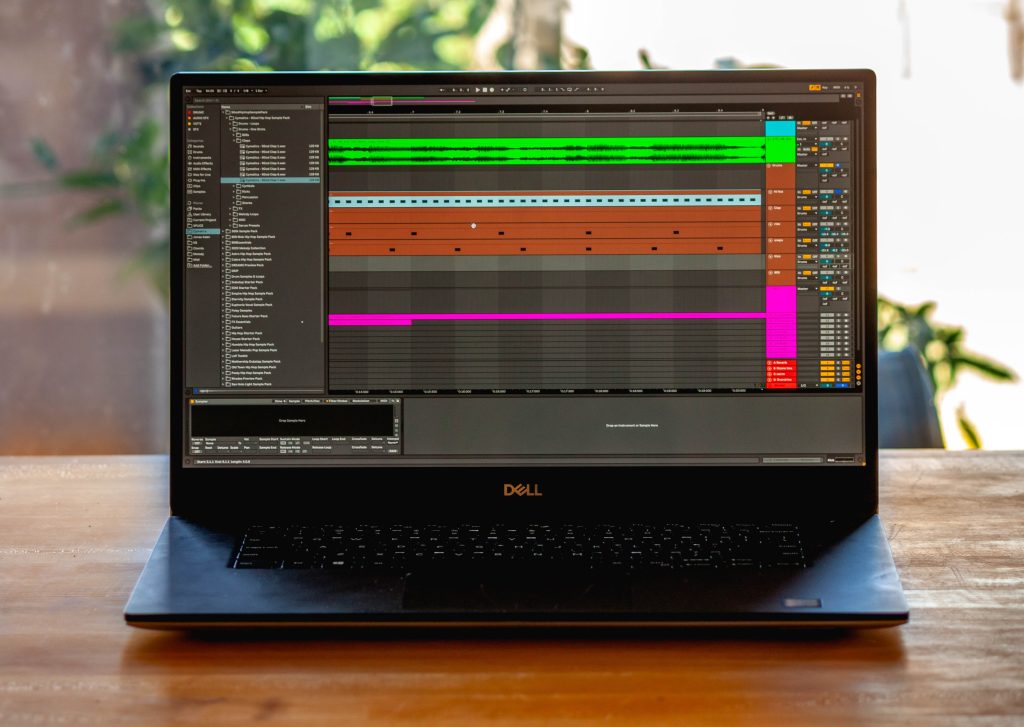
Ableton Live
For over 20 years, Ableton Live has been an industry standard and the preferred choice for many artists and producers. It offers seamless integration into live performance settings, is highly intuitive, and has an attractive, fast workflow and an impressive GUI.
It is designed for live performances and has provided music producers with an expansive range of versatility in studio and live environments, particularly in electronic and dance music.
While predominantly used by electronic producers, Ableton Live can craft nearly every genre imaginable. Meaning the genre of music you create does not limit the level of freedom and expression one can expect to enjoy when using Ableton Live.
Product
Price
Ableton 11 Intro
£69
Ableton 11 Standard
£319
Ableton 11 Suit
£539
FL Studio
With its origins in DIY EDM music and beat making, the formerly known Fruity Loops’, has evolved into FL Studios. FL Studios acts as an impressive domain for electronic music production and contains a vast array of virtual instruments, and samples, and offers a creative, albeit unconventional, workflow setup.
It has endured over 25 years of rigorous development and has become one of the world’s most popular DAWS. Whether you’re producing music from your bedroom or playing on the world’s largest stages, FL Studios has the ability to be the perfect DAW for you.
Product
Price
FL Studio Fruity Edition
£85
FL Studio Producer Edition
£164
FL Studio Signature Edition
£225
FL Studio All Plugins Edition
£409
Logic Pro
First developed in 1993 by a company called Emagic, Logic Pro offers a complete collection of sophisticated creative tools for professional songwriting, beat making, editing and mixing. It is powered by intuitive design features and garners quick impactful results.
We take it for granted nowadays but when you look back on the early days of Logic Pro, it tells us a story of extreme innovation and industry disruption. Logic Pro changed the game by providing expansive suites of virtual instruments, from EXS24 to the various vintage electric pianos and organs on offer.
Although the first 5 versions of Logic Pro were available on Windows and Apple devices, in 2002, Apple purchased Logic Pro and announced that the software would only be available to use on Apple devices, in doing so, ostracising half of their market.
Now in its 10th iteration, Logic Pro X has become one of the most commonly used DAWs among songwriters, artists, music producers and mixers, both at a grassroots level and those of industry notoriety.
Logic Pro X is priced at £179 and is available to purchase on the Apple App Store. It requires 6GB of available storage for minimum installation and up to 72GB storage space for its full Sound Library installation.
Avid Pro Tools
For decades now, Avid Pro Tools has been an incredibly popular choice for recording HQ audio. An industry standard with robust audio and MIDI functionality, Pro Tools has built a legacy of trust, innovation & dependability.
From the beginning, Pro Tools led with a greater emphasis on multitrack recording and audio editing, rather than sequencing virtual instruments with MIDI. It is now an industry staple and you’ll find Pro Tools in most top studios.
Avid offers a subscription-based service with multiple pricing options for Pro Tools, whether you’re using it as an individual, a student or a teacher or if you are part of an enterprise/institution. Payments can be made in one single annual payment of £249.99 (saving 17%) or in monthly payments of £25.00 – adding the flexibility of a month-to-month subscription.
Conclusions
As discussed above, a digital audio workstation (DAW) is software that is used to record, edit, mix, and produce audio and MIDI tracks. There are many different options available, with all sharing core fundamental functions and capabilities but each offering something unique.
By no means is it a one-size-fits all system and what works for one producer or writer might not work for another. Our best advice is shop around, do your research and avail of the free trials available.
It is an exciting time to be a music creator, with HQ audio technology at our fingertips, artists can dramatically improve their creative output and career trajectory, all from the comfort of their home studio.
We’re teaming up with some of the most esteemed producers, engineers and mixers in the game who are lifting the hood behind their biggest hits.
In the latest episode of #TheMakingOf, Bainz sat down to chat with us about his creative process by breaking down the mix of T-Shyne – ‘Fighting Demons’ (feat. Young Thug). Bainz broke down some of the workflows and techniques he brings to most of his sessions, as well as what’s unique to this track and how he approaches maximizing what is already great about the track, and how he incorporates so much analog gear into his mixes.
Huge congratulations to Bainz who was nominated for two Grammy Awards at Sunday night’s 65th Annual Awards Show.
Bainz was in contention for ‘Best Rap Performance’ for Gunna & Future ft. Young Thug’s ‘Pushin P’ and ‘Best Rock Album’ for his work on Machine Gun Kelly’s ‘Mainstream Sellout’.
WATCH FULL VIDEO
TRANSCRIPT
My name is BAINZ, we’re at my studio in LA, this is my mix room and we’re going to actually jump into a song called ‘Fighting Demons’. This song has Thug and T-Shyne on it, it was actually on T-Shyne’s album.
I kind of wanted to show you guys the way I work and a couple of the workflow things that I tend to do in most of my sessions.
Alright, let’s dive in. So we’ve got the stems over here, the instrumental stems, and my vocals down here, I have my 808 over here as well, you can see the amount of like automation.
And what that is, is basically it’s to make room for the attack of the kick, the song is very 808 driven, but that kick punches through, I’m just gonna play the section so you can kind of see going into the hook a little bit. The 808 still feels really big. And I kind of tend to push those exciting things.
Let’s jump into the vocals. Because I’m using analogue gear, I have this hidden folder here called printed vocals. And it just shows you that the stuff that I ran, into is not really much it’s committing the autotune, these are multiband, clean-up things, that’s what the Dedger, is the spectral shaper does that, Soothe does that.
Let’s see what’s going on on the hook. This is a little bit of verb under there tucked in with the main vocals, I’m just gonna solo just that section.
In the mix, it doesn’t have to be too crazy, just those couple of things like I want a little more bounce over there. Because I use so much analogue gear on my mix bus and stuff like that I have the software called Session recall. And it’s just an image of my settings that I copy, every time I open up a session that a couple of things I’m using, I can recall them real quick. And this is kind of what it looks like.
So there, I have the Fearn on this makes the VT-5 boosting the highs of there. So I just go, you know, make sure that everything over there matches real quick. And this has been the biggest lifesaver.When you use so much analogue that it adds variables and that you need to take into account and just make sure that you’re on top of that.
A lot of my friends stay in the box and they do it. It helps me get to where I’m going a little faster. And it’s manageable. A lot of the things have hardware recall, and like software’s like this, like I’m not going crazy. The way I’m doing it definitely takes longer, especially when you’re printing stems, but I can hear an audible difference. And that’s enough for me.
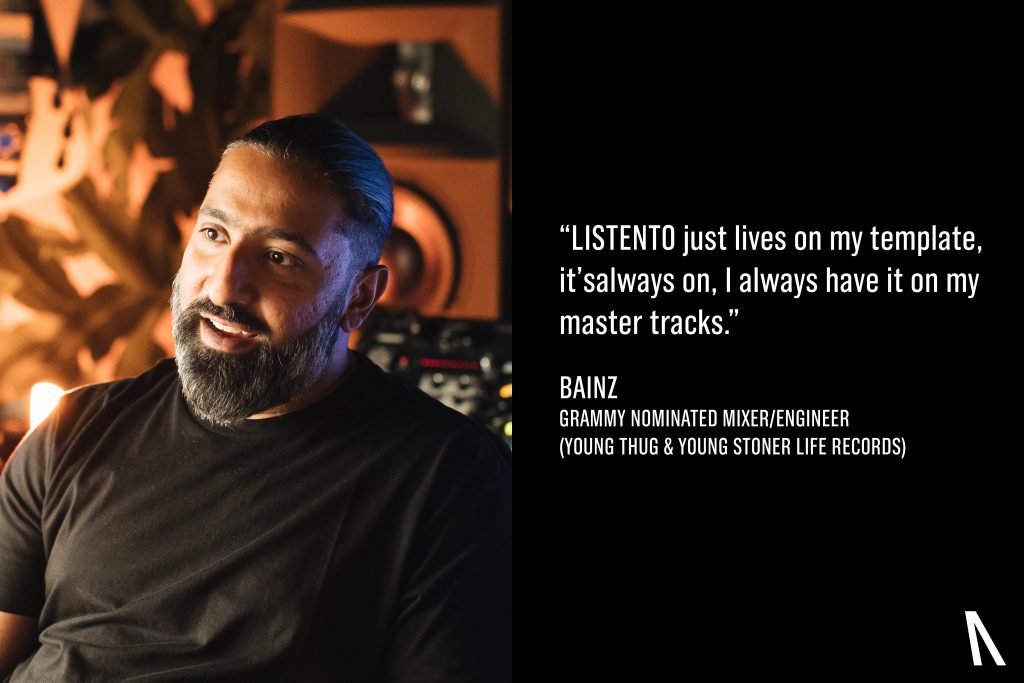
LISTENTO just lives on my template, it’s always on, I have it on my Master Tracks. That’s the last thing if I need to check with this 808 that I’m pushing so much it’s going to sound like on a small speaker, I have it right there. And all I got to do is open this up. Lets play it from the hook. Another really cool thing I do is I don’t even need to let it stop playing. I’ve got my air pods right here
And just like that, you know it’s in the headphones. When I’m done with this, I can walk to my car, I put the air pods back on back in their case. Now I’m connected. If we were in my car be connected to my car without even thinking. You know that’s that’s what it is. It’s it’s convenience and ease and just time-saving.
When I got done with this session with T-Shyne’s vocals, I sent him a link and he was at his studio and he was you know, either making revisions or approving it or just listen to it.
You know, they want to be part of the process. There are times when I don’t want to bounce it and send it because I don’t want them to live with it. Because I’m not done yet but I can send them a link. When we got done with the song he was really happy, streamed it live and signed off on it. We just worked really well together.